Building a raised redwood deck is one of the most popular home improvement projects a homeowner can take on. They’re fast to build, redwood is affordable to buy, and they are always a beautiful addition to any yard.
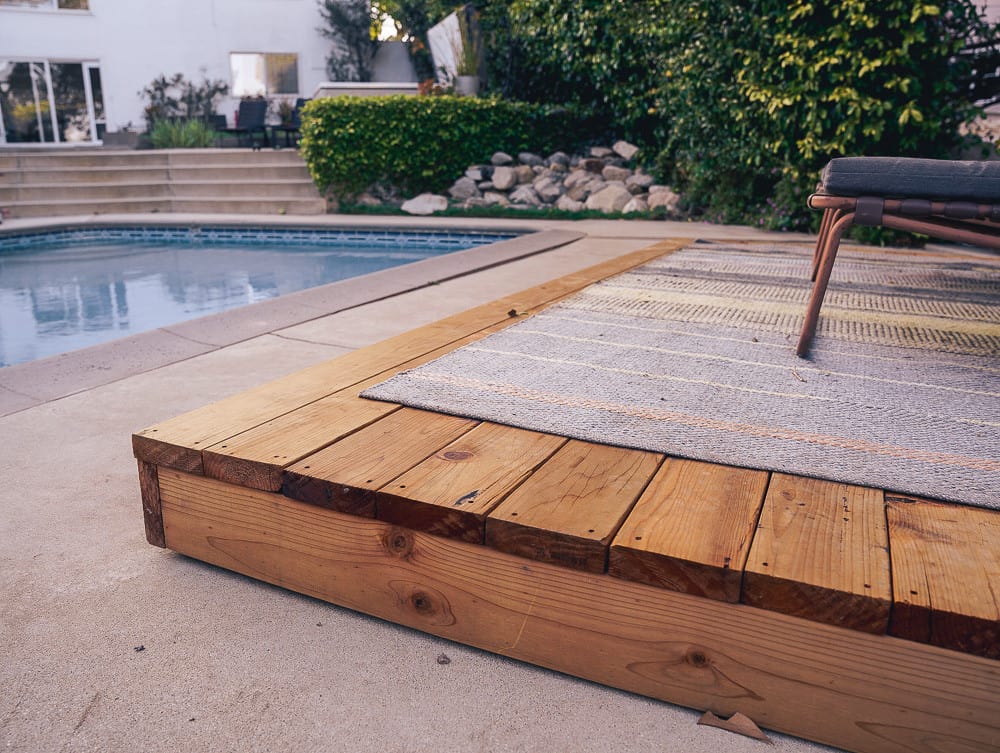
In our last article, we shared how we designed our raised redwood deck and in this piece, we want to explain the step-by-step process we used to build our deck.
The Tools Needed to Build a Redwood Deck
If you design a redwood deck using stock lumber sizing as we did, then you won’t need a saw. This saves time, effort, and waste of wood.
This deck requires no special tools, in fact, if you use deck nails you just need a hammer.
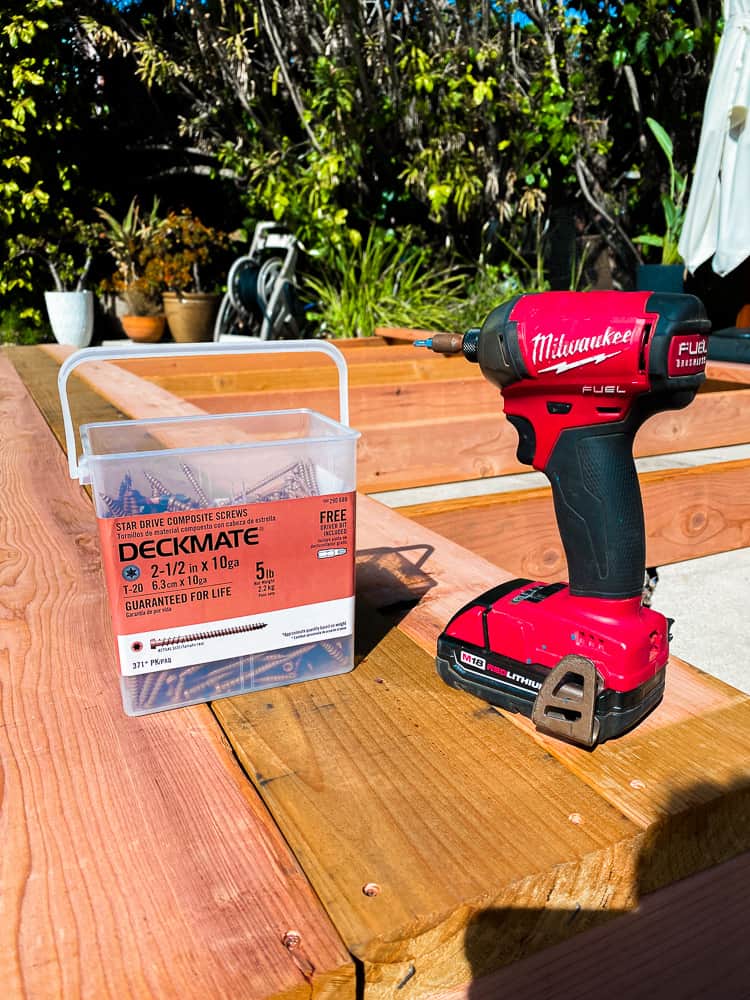
For our application, we used 2 1/2 inch star-drive deck screws and an impact driver. I also used a small drill bit to pre-drill holes near the ends to prevent the boards from splitting.
Here’s the complete list of tools:
- Tape Measure
- Impact Driver
- 1/4″ Drill Bit to pre-drill holes
- Star Impact Bit (less stripping than a phillips head) to drive screws
It does help to have a miter saw or circular saw on hand if you need to trim any pieces that are a bit long, but it’s not necessary.
Start with Redwood
When it comes to decks you have a lot of material options. We have a lot of experience using redwood to build fences and other projects. It’s easy to work with and the finished product is always stunning to look at compared to other wood options.
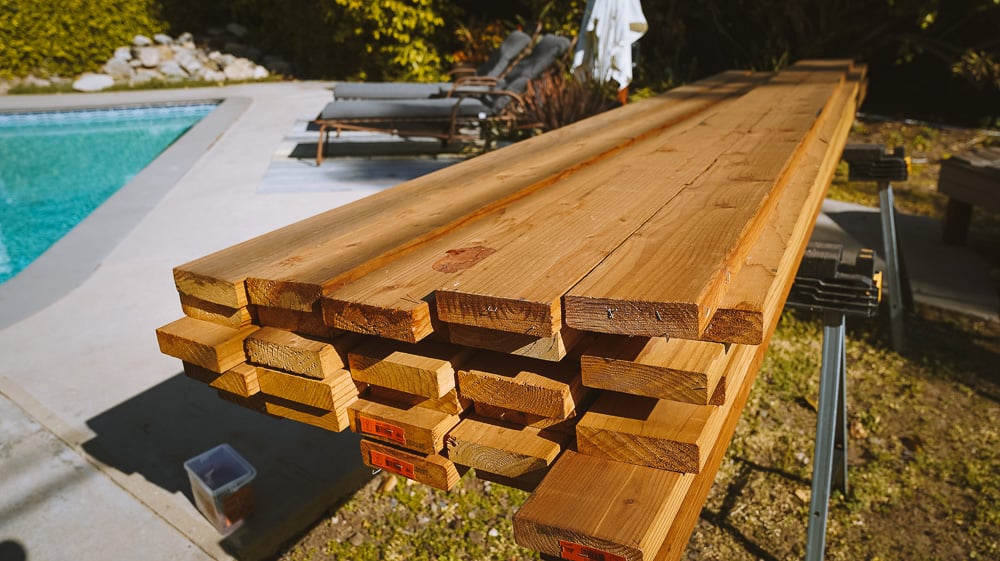
Redwood is a premium building material compared to pine or douglas fir, but is priced well below composite deck materials. Redwood is naturally resistant to rot and and insects which makes it an ideal material for an outdoor deck. You can leave redwood untreated as we did or you can seal it which will add another layer of protection.
For this project we chose Mendocino Redwood which is available by name at your local Home Depot. Mendocino Redwood is Forest Stewardship Council® (FSC® C013133). That means Mendocino Redwood is grown and harvested in accordance with some of the highest environmental standards in the world. From conserving energy to absorbing greenhouse gases.
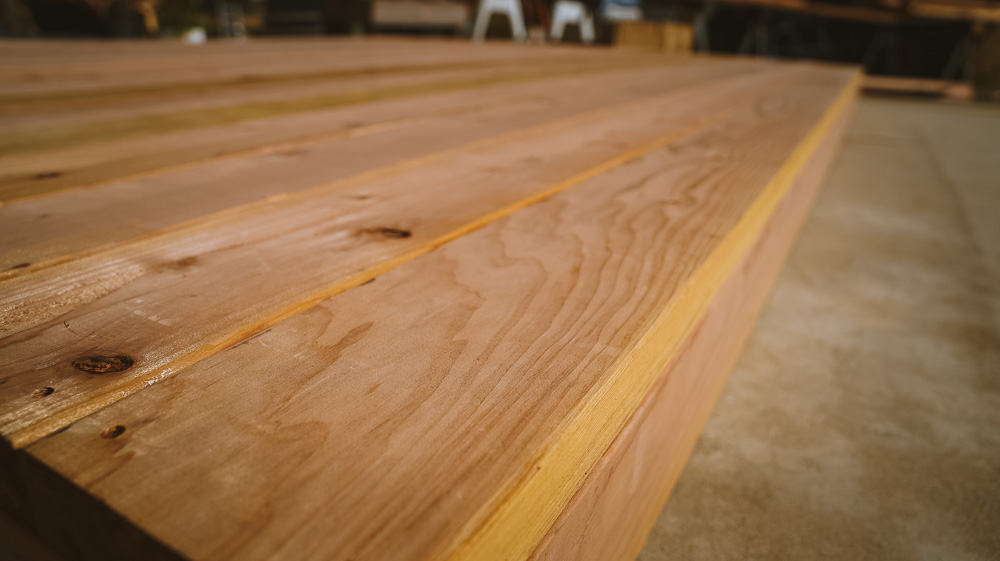
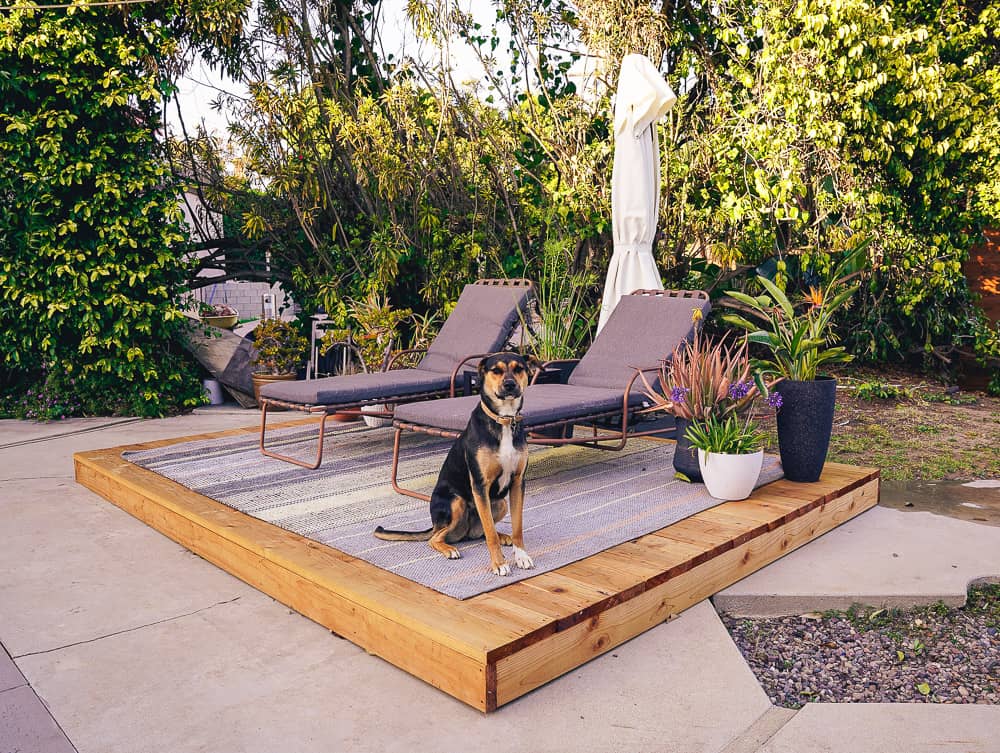
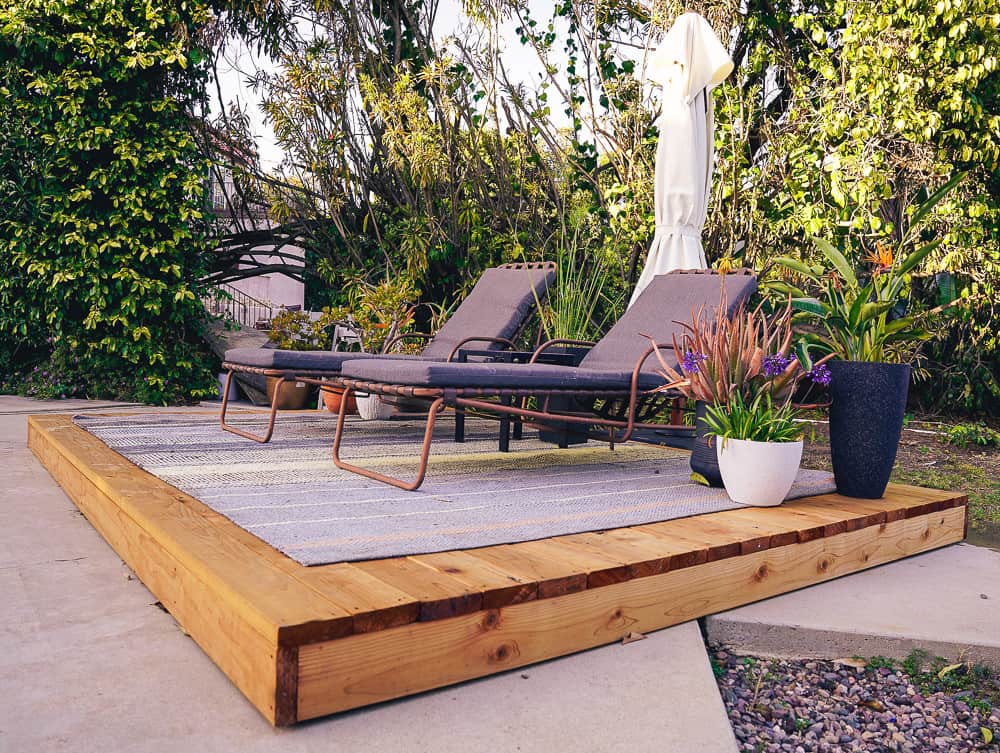
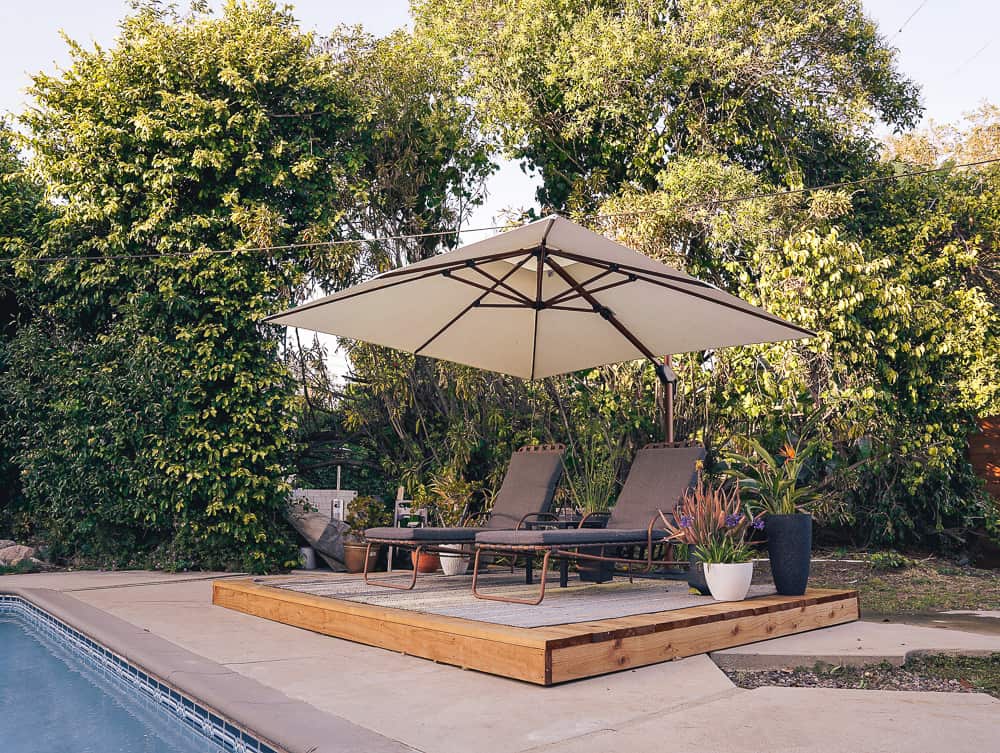
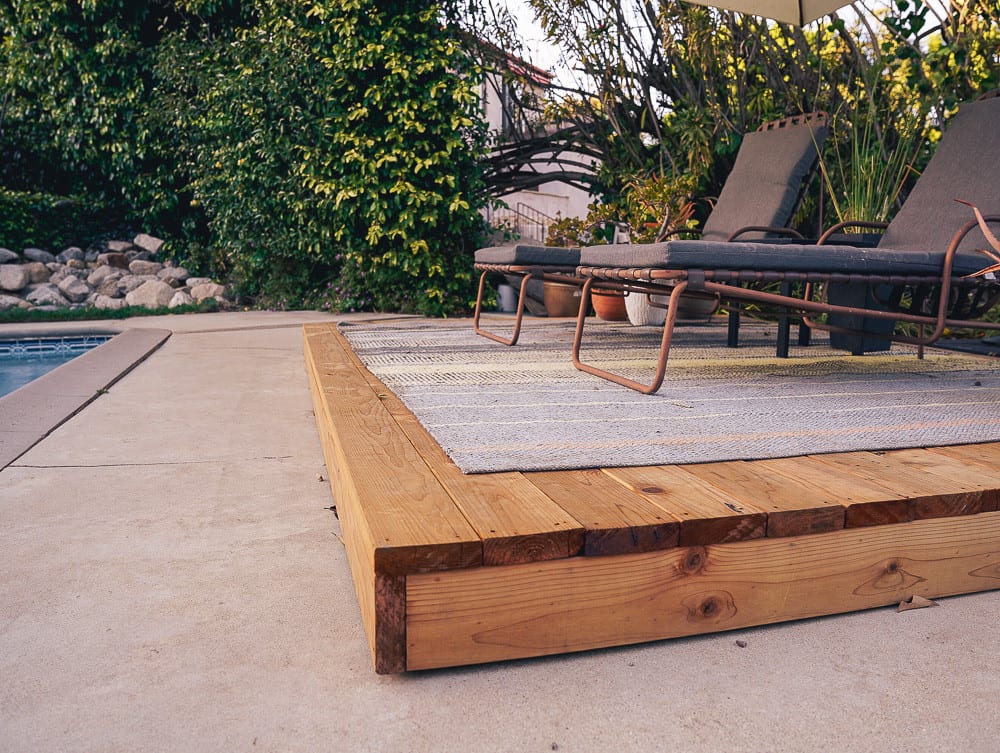
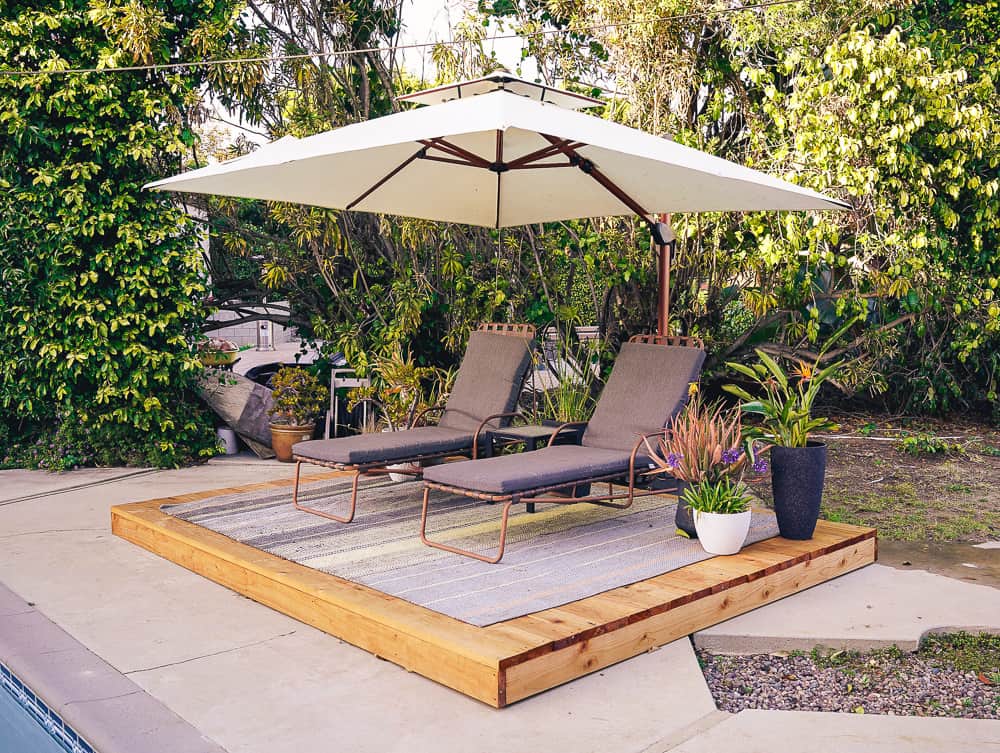
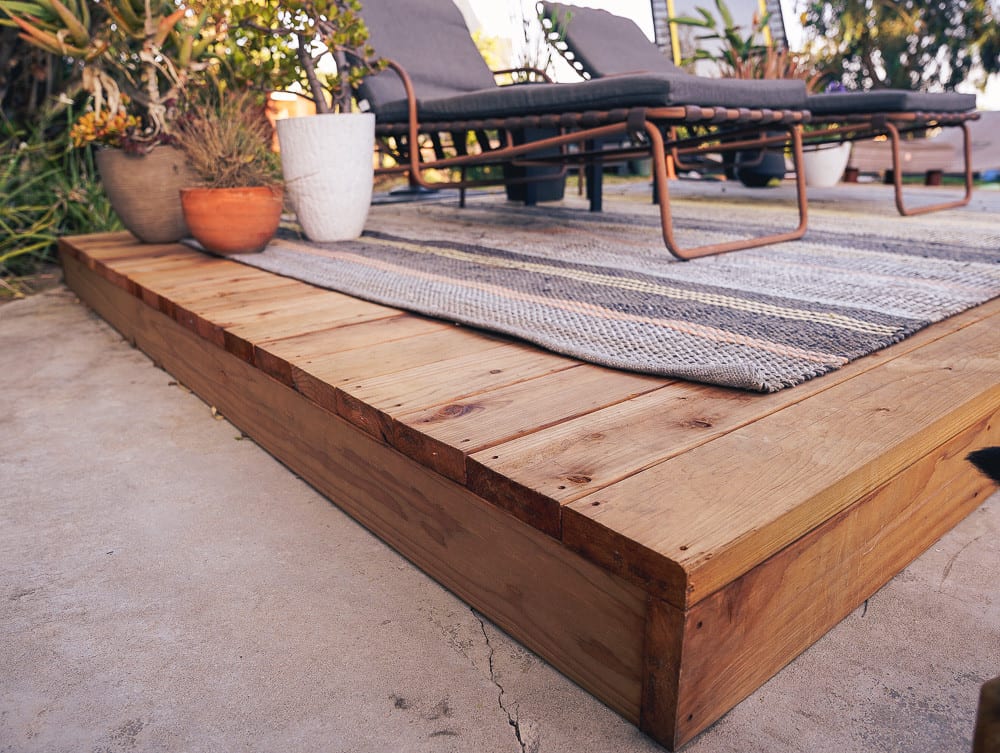
Our deck is 12 x 10 feet which is an easy size to design and build. It’s large enough for two outdoor chaise lounges and a table, but built within the dimensions of stock lumber.
Our cut list includes:
26 – 2 x 6 x 12 at Home Depot
15 – 2 x 6 x 10 at Home Depot
When ordering wood for delivery, we always include a few extra boards for overage in case a board comes warped, bowed, or damaged in anyway. If you are selecting each piece at your local Home Depot you should be able to pick the best ones.
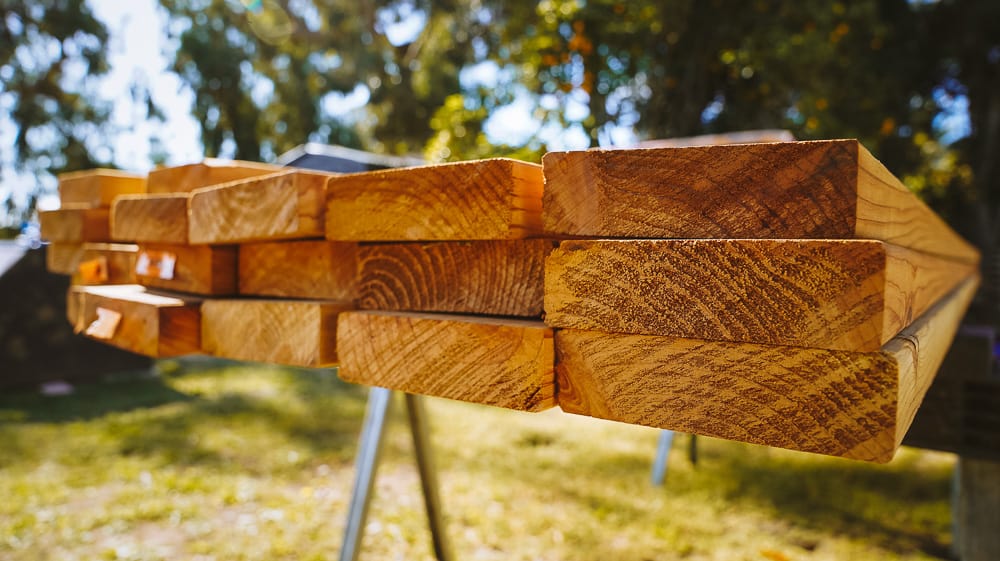
Almost all of our boards arrived straight and true so we have a few leftover to build more planters or to be used on other projects.
Prepare the Deck Foundation and Surface
Once you’ve chosen the location for your deck you’ll need to prepare the surface. That means the area needs to be clean and level.
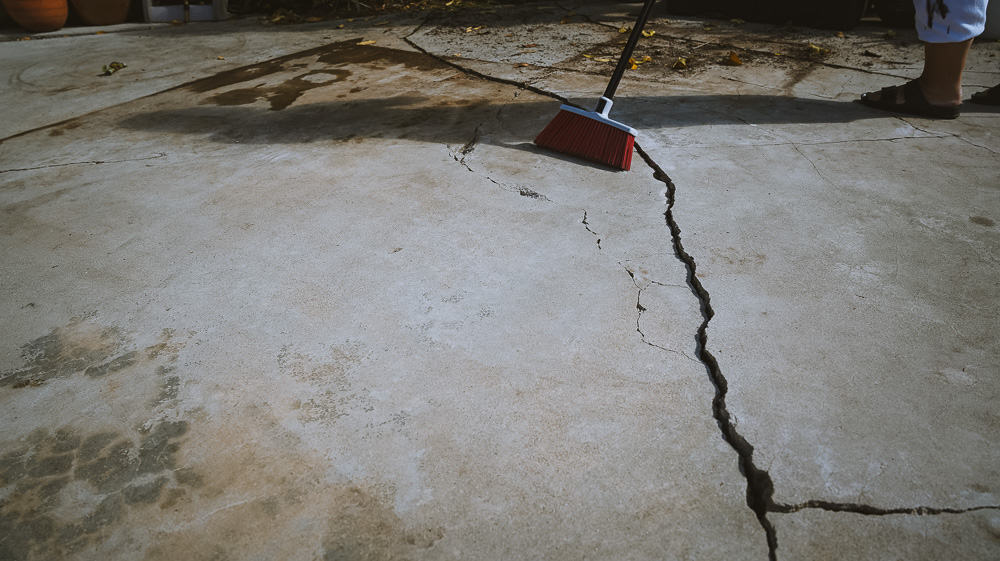
We are building our deck on a solid concrete slab (our pool deck) which is already level, just a bit cracked. If you build on dirt or grass, you’ll want to use a gravel or paver base to prevent the deck from shifting or sinking. This will add a bit of time to your build, but it’s a necessary step.
We simply used a pressure washer and broom to remove any debris from our patio. The deck will cover up any unsightly cracks.
Layout and Square the Deck Frame
Our deck design is as easy as it gets. Simply layout two 12-foot boards for the front and back and place two 10-foot boards for the sides. make sure the sides are not placed up against the end of the 12-foot boards, but rather placed in between the two 12-foot boards.
This will add 3″ inches to the overall width of the deck, but since we will be laying the 12-foot boards lengthwise you don’t have to worry about the 10-foot boards being too narrow.
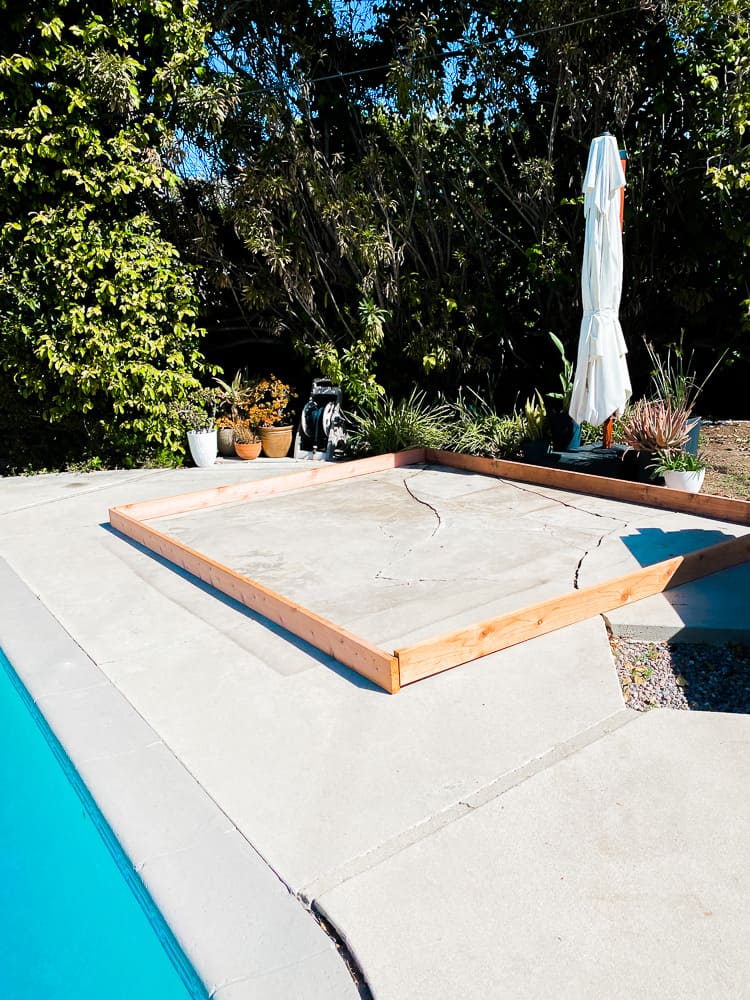
The most important part of building a rectangular-sized deck is to make sure it’s square. This means that each inside corner should be 90 degrees. If the deck is out of square then the ends won’t line up and the shape will be askew.
To square the deck simply attach all four corners with screws but don’t completely tighten them. Then take a tape measure and take both diagonal measurements across the deck. If these measurements are equal then you’ve got a square deck.
It’s likely that your first measurement will be off by an inch or more, so to fix this, you simply need to tap on one side of the frame to shorten/lengthen. Take another measurement and keep tapping until they line up equally. Then you can fully tighten the frame ends and take one final measurement.
Add Deck Supports
For this ground-level deck we spaced our deck frame supports 24-inches on center. Check your local codes if you have concerns, but for us the standard 16-inches on center was not needed.
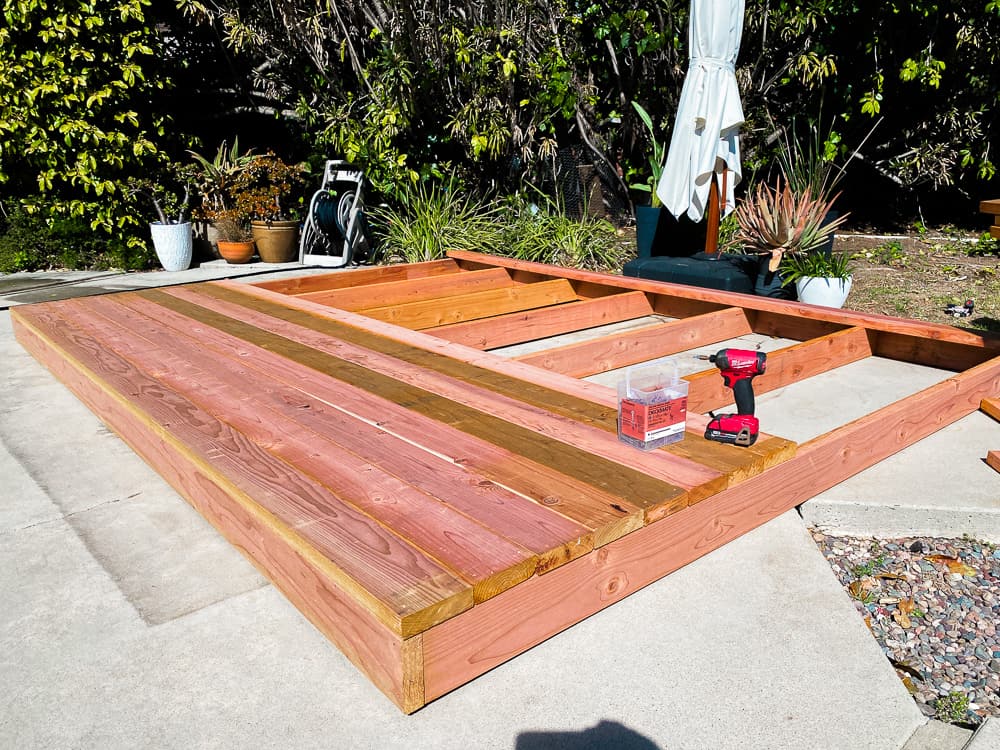
We considered raising the deck slightly with these footers, but eventually decided against it as our deck was not in contact with soil and we are in a dry climate. Not using footers also left the deck at the desired height. If you live in a wet climate or are building on gravel then these footers would be a great idea.
Install Deck Boards
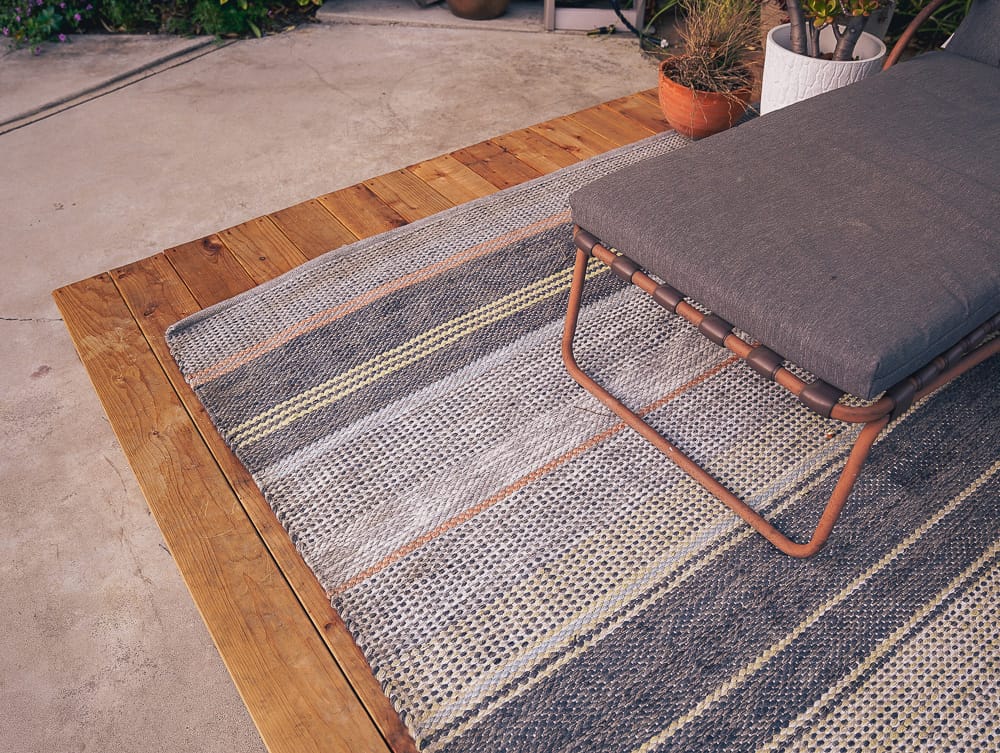
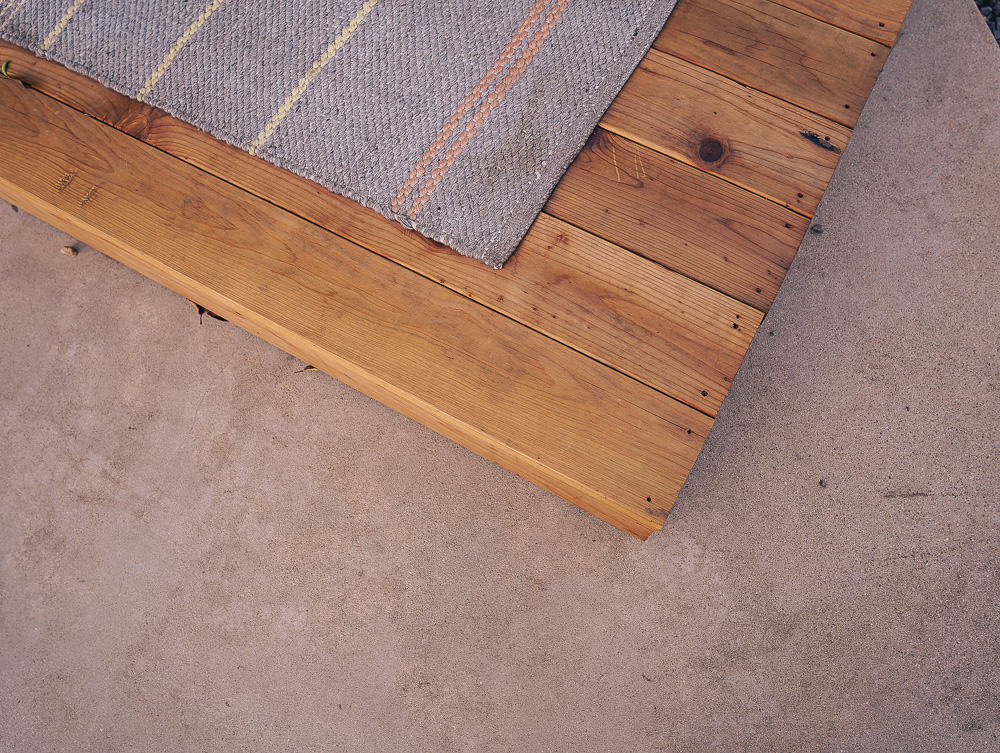
The final step in building your deck is to install the deck boards. Lay the 12-foot deck boards across the length of the deck and place two screws into each deck support underneath.
Leave a bit of space between each board for expansion. You can use a screw to help make this easy.
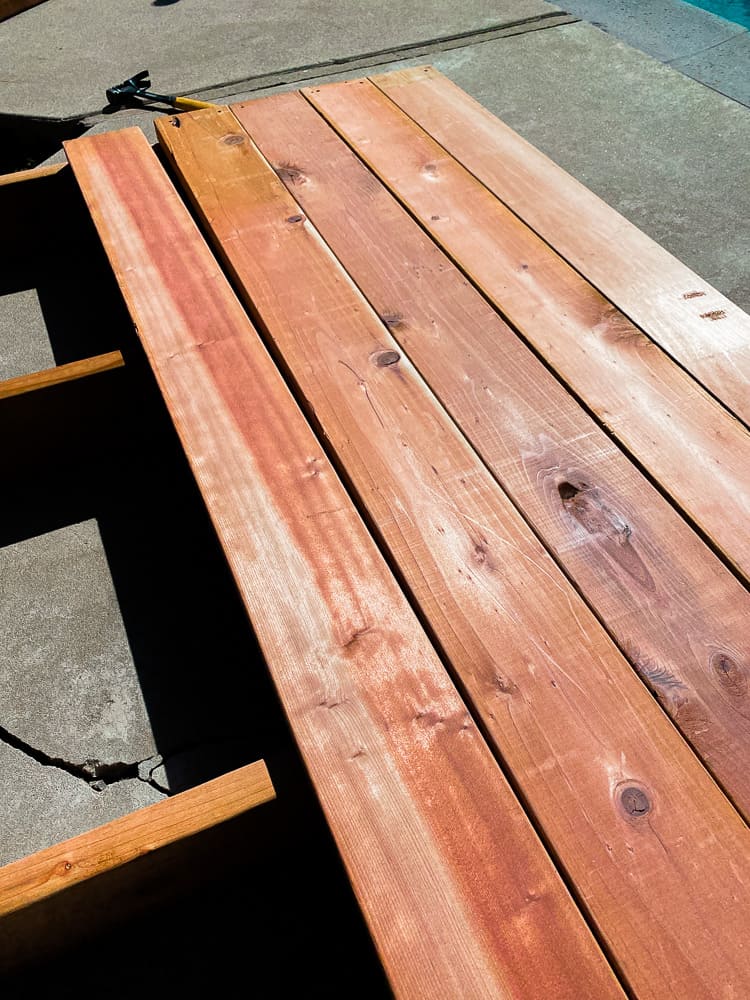
For the ends we pre-drilled holes to prevent splitting.
If a board is slightly bowed place it with the high point in the middle which will allow it to settle flat. If a board is warped you should be able to push one end in place once the other end is secured.
Our deck board install went smoothly and within a couple hours we had a new deck!
Sand and Seal Your Deck
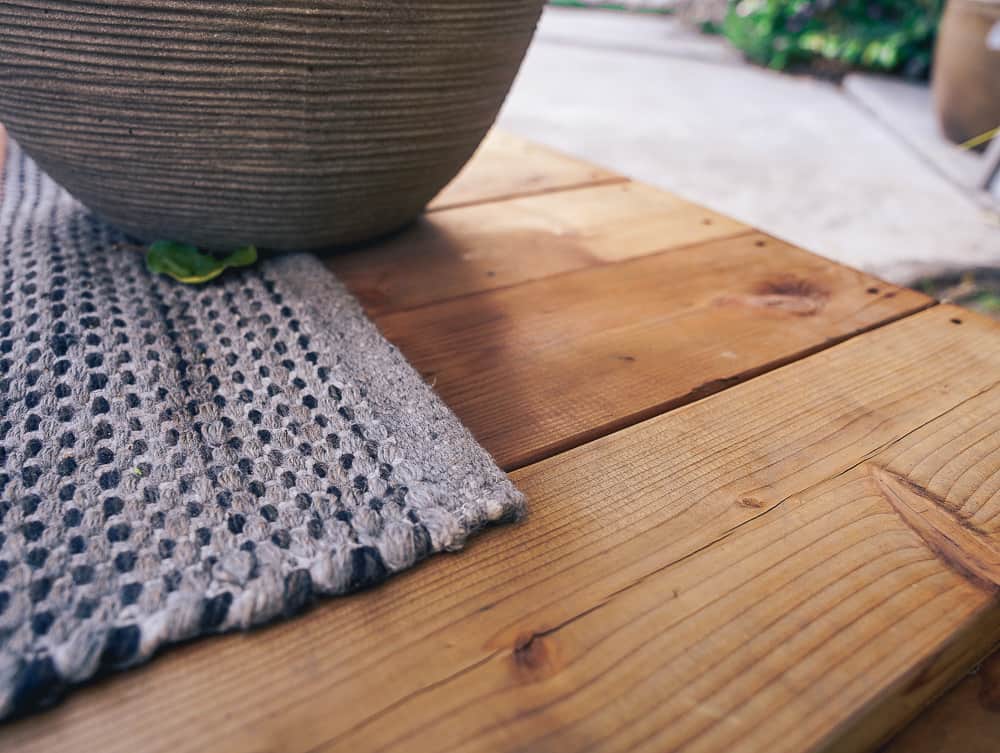
The final touches are to gain the most life and enjoyment from your deck is to sand and stain it. Our boards were very smooth and didn’t need much touch up. A clear poly stain isn’t necessary but can extend the life of your deck and retain the new redwood color longer.
Sit Back and Enjoy Your New Redwood Deck
Once you are done with your deck, just add chairs, an umbrella, and a few cocktails and enjoy a job well done.
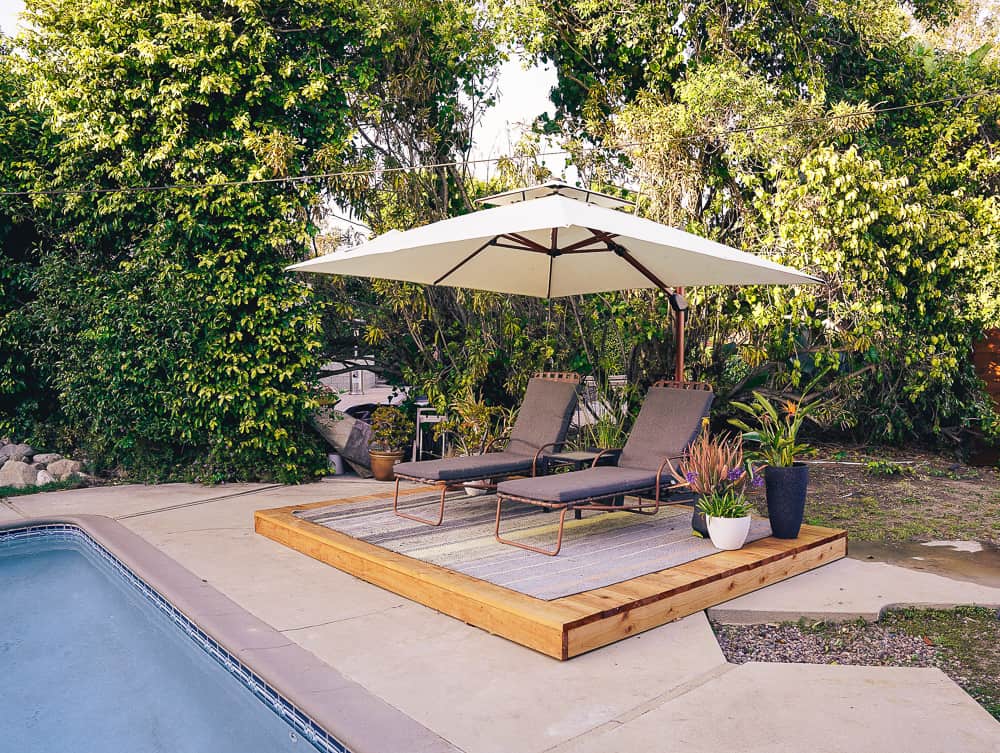
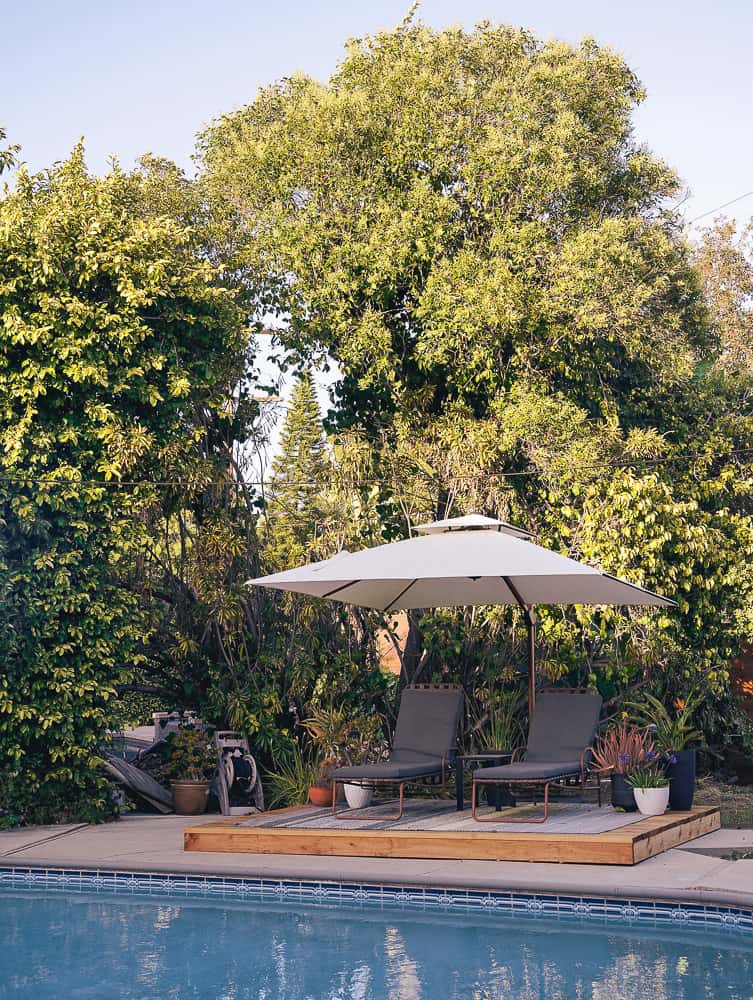
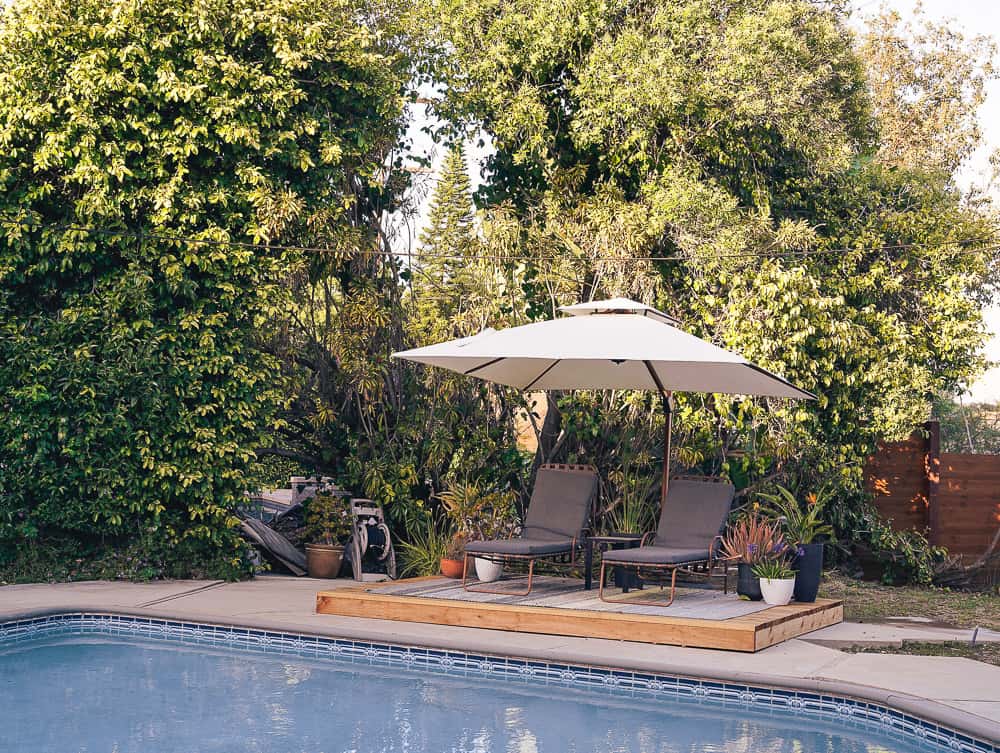
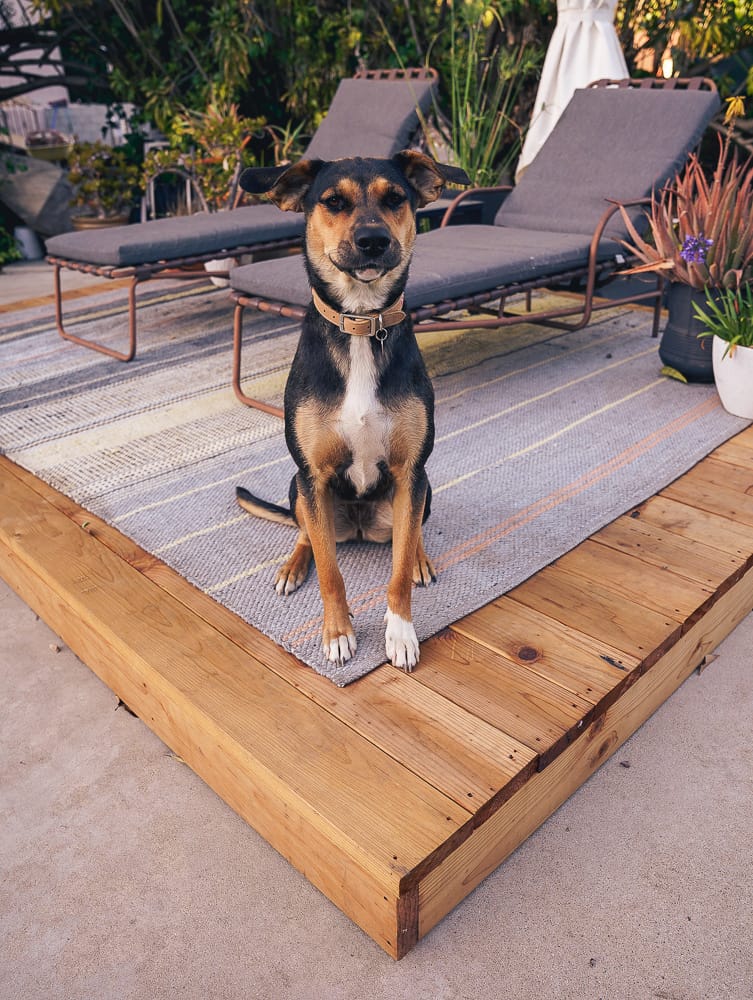
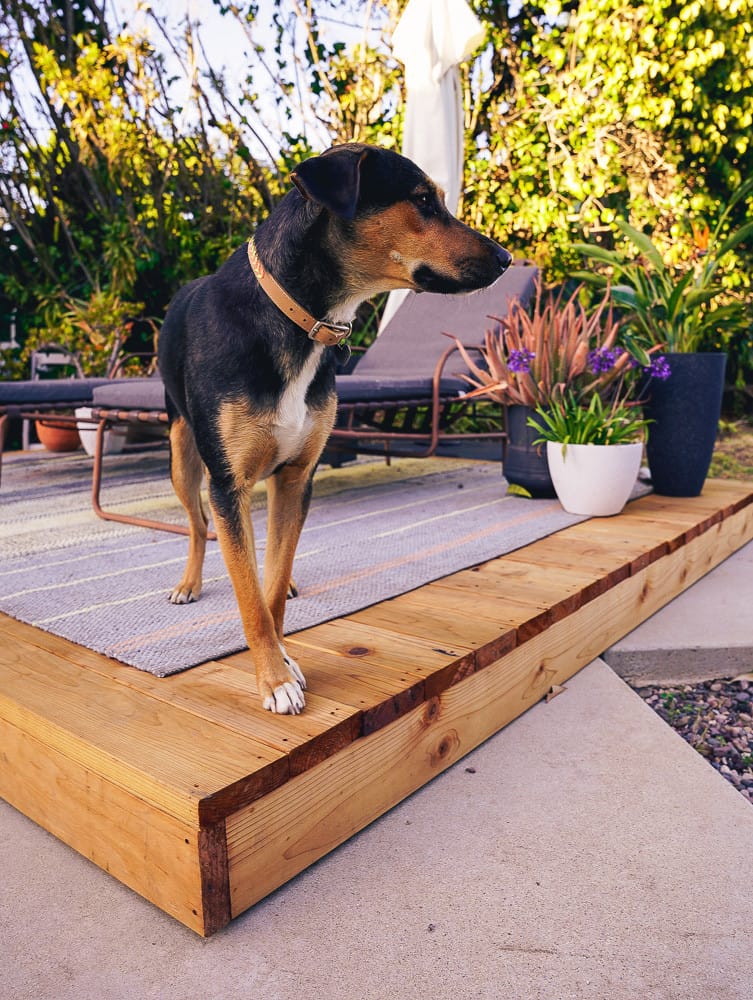
Our pup couldn’t resist modeling for us.
